Variables
Variables are placeholders for content that you can then use anywhere in the bot. It’s a very important concept to understand to truly create a customized experience for the user.
Save an answer in a variable
You can tell your input block to save the answer into a variable and reuse then in a further bubble for example:

Use variables
Once your variables are declared you can use theme anywhere in your bot. For example you can display it in a text bubble with the following syntax:
{{My variable}} where “My variable” is the name of your variable.
Inline variable formatting
You can also decide to format your variable directly in the text bubble. For example if you want to display the variable “First name” in uppercase you can use the following syntax:
{{={{My variable}}.toUpperCase()=}}
When you insert {{= ... =}}, it means what’s inside will be evaluated as JavaScript. So you can use any JavaScript inline function inside. The behavior is similar to the custom value in the Set variable block.
If you would like to get the first item of a list:
{{={{My variable}}[0]=}} or {{={{My variable}}.at(0)=}}
Likewise for last item:
{{={{My variable}}.at(-1)=}}
Variables panel
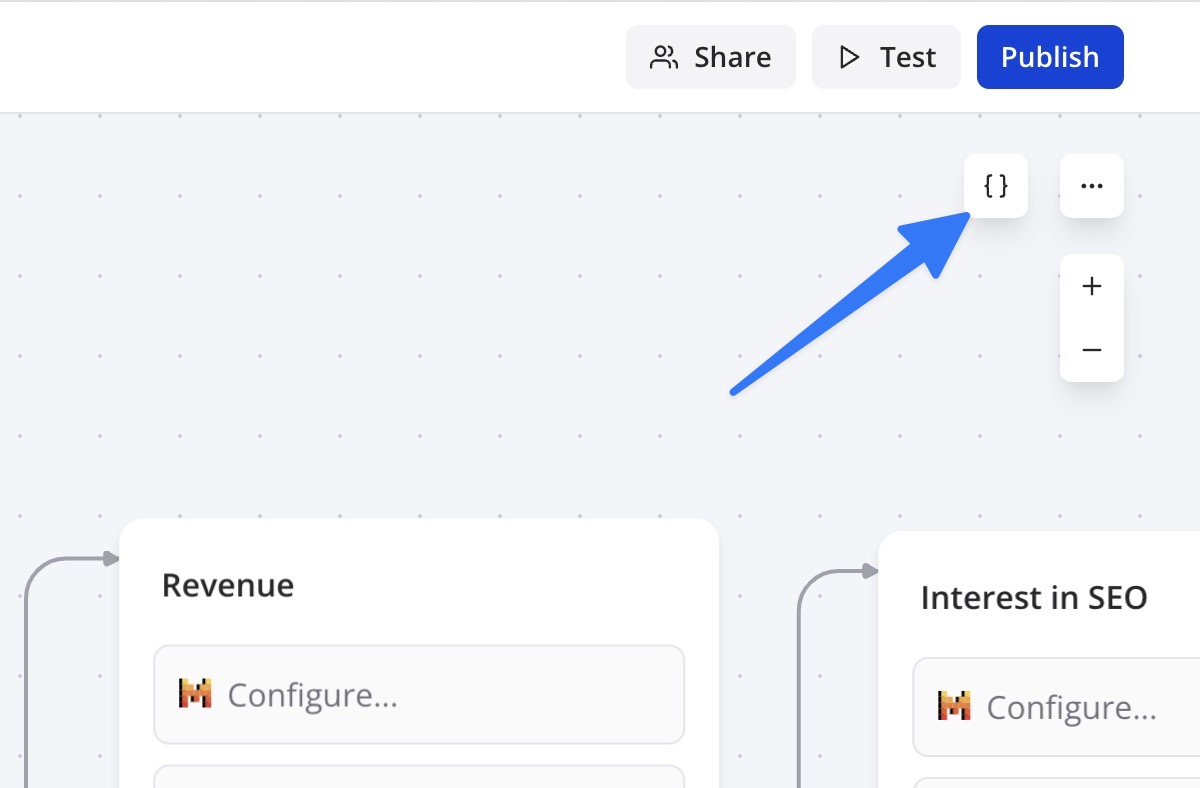
You can access the variables panel by clicking on the “Variables” button in the top right corner of the editor:

In this panel you can see all the variables declared in your bot. There, you can easily rename, edit, delete your variables.
Prefilled variables
By default, any declared variables in the bot can be prefilled by passing initial values in the URL.
Let’s say my bot contains these variables:
- “Email”
- “First name”
They can be initialized in the URL as URL parameters. If I’m launching my bot using this URL:
https://bot.typerobo.com/my-bot?Email=test@test.com&First%20name=John (Note that spaces in variable names should be replaced by %20)
Then the variables will be prefilled as following:
- Email => test@test.com
- First name => John
Prefilling variables using the embed library is even easier. You need to add an object named prefilledVariables that contains a dictionary of your values. For example:
(Note that if your variable name contains spaces, it needs to be surrounded by quotes.)
Hidden variables
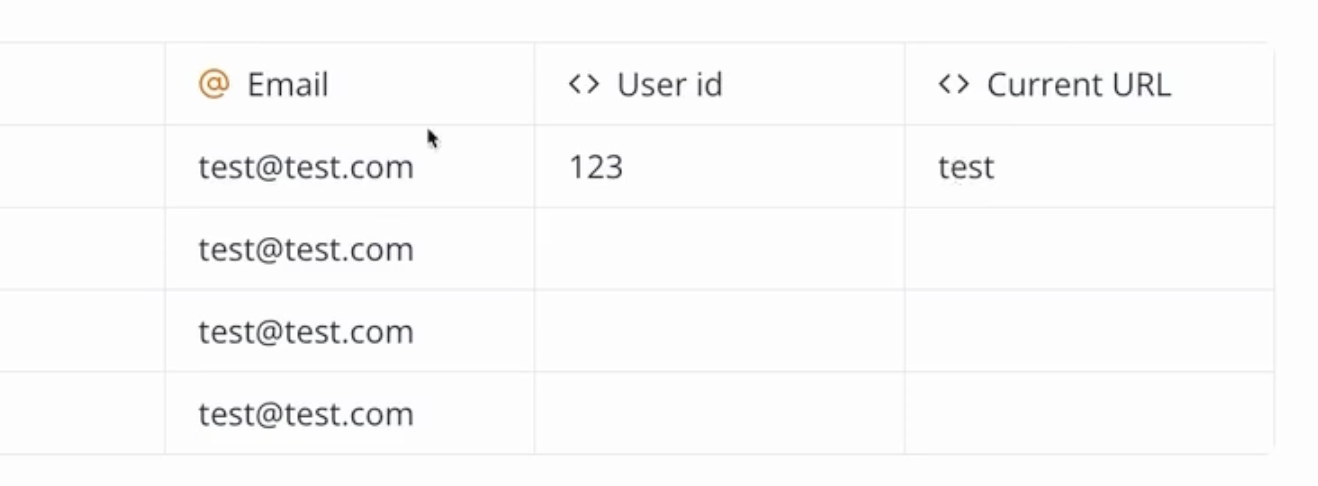
Your bot’s variables don’t have to be displayed to the user. You could create variables that are only used internally by the bot and displayed in your results. This allows you to add some context to a session for example a User ID, a utm_source parameter (in the case of a marketing campaign), or anything else.
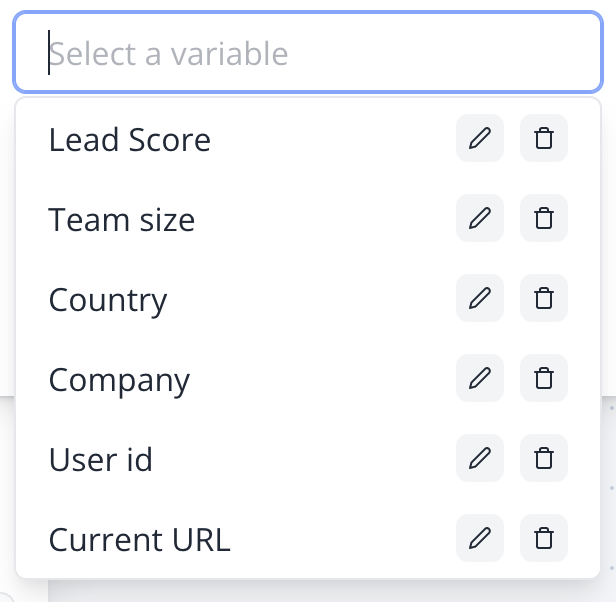
You just have to make sure that the variables exist in the variables dropdown:

(This dropdown can be found in any place where you can add variables. It is global to your bot flow.)
Then the values will be available on the Results page in specific columns:

Valid value types
Variables content can either be a text (string) or a list of texts (string[]).
If you provide an object, number or boolean. It will always be converted into either a text or a list of texts before the variable is saved into the database.
This limitation is intended. Variables should have simple content. It forces you to have a cleaner bot structure and to use the variable content in a more meaningful way.
In some cases, the variable content will be dynamically parsed to match its intended type. For example, if you provide a text that looks like a number in a condition block, it will be converted into a number during the condition execution.
If you really need to save a complex content into a variable, for example an object, you can use the JSON.stringify function to convert it into a text. And whenever you are using the variable, you can dynamically parse it back into an object using JSON.parse in an inline format: